

Wrinkled clothes can drain your confidence fast. You rush to get ready, only to notice stubborn creases in the mirror. A Garment Steamer can change that daily struggle into a calm, quick routine.
Used correctly, a clothes steamer is gentle, fast, and surprisingly versatile. Used carelessly, it can leave damp patches, stretched fabrics, or stubborn wrinkles that never smooth.
This guide walks you through simple, practical habits to get flawless results. Every tip is easy to follow at home, even if you feel unsure with new appliances.
By the end, you will know exactly how to prep, steam, and finish each piece. Your clothes will look smoother, last longer, and feel better against your skin. ✨
1. Start With the Right Water
What you put inside your steamer matters as much as how you use it.
Tap water often contains minerals like calcium and magnesium. These minerals can build up inside your steamer over time. That buildup can:
- Reduce steam output
- Cause spitting or dripping
- Shorten the life of your device
Whenever possible, use:
- Distilled water
- Or at least filtered water
If your local water is very hard, distilled water is worth the small extra cost. It protects your fabric steamer and keeps the steam flow consistent.
Real life example:
Someone steams shirts daily with very hard tap water. After a few months, the steamer spits and leaves spots. Switching to distilled water usually fixes this and prevents future mineral buildup.
2. Pre‑Check Your Fabric and Care Label
Before you steam anything, pause and read the care label. That tiny tag holds important clues. 🔍
Look for symbols or instructions such as:
- “Do not steam”
- “Cool iron only”
- “Dry clean only”
Delicate fabrics like silk, rayon, or some synthetics need extra care. Heavy fabrics like wool or cotton can usually handle more steam and heat.
If the label is missing, test a hidden spot first. Try:
- Inside a hem
- Under a collar
- Inside a cuff
Hold the steamer a little away from the fabric. Watch how it reacts. If you see puckering, water spots, or shine, stop and adjust your method.
This simple habit avoids damage and gives you confidence with each piece.
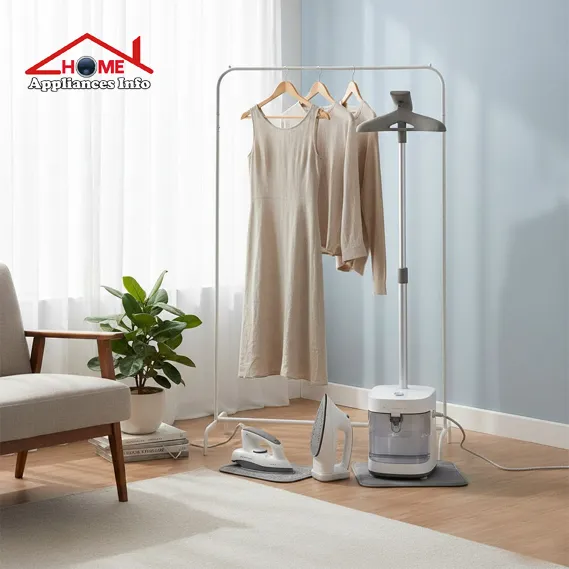
3. Choose the Right Garment Steamer for Your Needs
Not every Garment Steamer works for every lifestyle. Choosing the right style saves time and stress.
There are three main types:
- Handheld steamers
- Great for travel or small spaces
- Light and quick for a few items
- Standing or upright steamers
- Larger water tank
- Better for frequent or batch steaming
- Steam irons with vertical steam
- Combine traditional ironing and steaming
- Useful if you like sharp creases
Consider these questions:
- How many garments do you steam each week?
- Do you travel often for work?
- Do you prefer sharp creases or a soft, relaxed finish?
Invest once in the device that fits your habits. You will use it more, and enjoy the results much more.
4. Let the Steamer Heat Fully Before You Begin
Rushing is one of the most common steaming mistakes. ⏱️
Many people see a little steam and start immediately. At that stage, the device often:
- Spits water
- Drips on fabric
- Produces weak, uneven steam
Always wait until:
- The indicator light shows “ready”
- Steam flows in a steady, strong stream
This usually takes one to three minutes, depending on the model.
During this short wait, you can:
- Hang your garment properly
- Smooth collars and cuffs
- Empty pockets and unbutton shirts
You save time overall because you avoid going over the same area repeatedly. Proper heat means fewer passes and smoother results.
5. Hang and Position Your Garment Correctly
Good positioning does half the work for you.
Whenever possible, steam clothes while they hang. Use:
- A sturdy hanger
- A door hook
- The built‑in pole on an upright steamer
Make sure the garment hangs freely. Avoid:
- Crowded racks
- Tight spaces
- Surfaces where the fabric bunches
Gently pull the hem of the garment while you steam. This light tension allows steam to penetrate and relax the fibers.
For long items like dresses or coats:
- Start from the top
- Work slowly downward
- Keep the fabric taut but not stretched
This simple technique prevents new wrinkles from forming as you work.
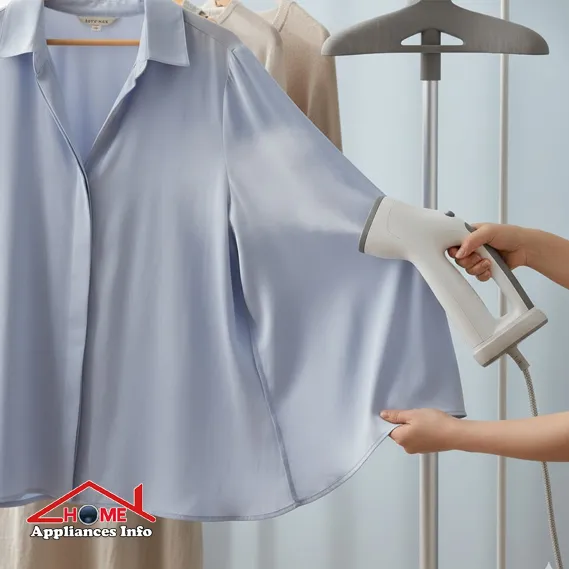
6. Steam in Slow, Vertical Strokes
Fast, nervous movements often leave wrinkles behind. Think “calm, slow, steady” instead. 😌
Follow these steps:
- Hold the steamer head upright.
- Place it just off the fabric or touching lightly, depending on fabric type.
- Move from top to bottom in smooth strokes.
Avoid moving side to side too quickly. Steam works best when it has time to relax each area.
For very wrinkled spots:
- Pause for a second with the steamer head near the wrinkle
- Gently pull the fabric from below
- Repeat once or twice if needed
Always keep the steamer vertical. Tilting it too much can cause hot water to leak or spit.
7. Match Steam Settings to Fabric Type
If your clothes steamer has multiple settings, use them. Different fabrics need different treatment.
Here is a quick overview:
| Fabric Type | Steam Level | Technique | Extra Notes |
|---|---|---|---|
| Cotton / Linen | High steam | Direct contact, slow strokes | Great for shirts, trousers, dresses |
| Wool | Medium to high | Hover slightly off fabric | Avoid pressing hard |
| Silk | Low to medium | Steam from inside when possible | Test a small hidden area first |
| Polyester | Low to medium | Light contact, quick passes | Do not overheat |
| Velvet / Velour | Low | Hover only, no pressing | Always steam in fabric’s nap direction |
| Delicate blends | Low | Extra distance and short bursts | Combine with air drying if nervous |
If unsure, start on the lowest setting. You can always increase gradually.
For more detailed symbol explanations, many people find professional fabric care tips very helpful.
8. Use the Right Attachments for Faster Results
Many steamers come with small attachments that seem optional. They are actually very useful.
Common attachments include:
- Fabric brush
- Lifts fibers on thicker materials
- Helps steam penetrate coats, jackets, and upholstery
- Crease tool
- Helps form trouser pleats
- Sharpens shirt sleeve creases
- Delicate cap or guard
- Diffuses steam for sensitive fabrics
- Reduces risk of water spots
Use the brush for items like blazers, wool coats, and heavy curtains. It can refresh fabric and remove light lint at the same time.
Reserve the crease attachment for specific edges. Do not use it everywhere, or clothes may look too stiff.
Store attachments together with your steamer. When they are easy to find, you are more likely to use them.
9. Protect Delicate Fabrics With Extra Distance
Gentle fabrics need gentle steam.
For silk, chiffon, lace, or very fine knits:
- Keep the steamer a few centimeters from the surface
- Use short bursts instead of continuous steam
- Move quickly to avoid soaking one spot
You can also turn the garment inside out and steam from the reverse side. This limits the risk of shine on dark or smooth fabrics.
For extremely delicate pieces, add an extra barrier:
- Hold a thin cotton cloth between steamer and garment
- Move both together in light passes
Example:
You have a silk blouse with embroidery. Turn it inside out. Place a thin cotton cloth over it, then steam through the cloth. The blouse relaxes without damage. 🌸
10. Finish Collars, Cuffs, and Hems With Care
These areas tend to wrinkle more and show more. They also frame your face and hands.
For collars:
- Start from the underside
- Steam from the points toward the center
- Then steam the outer side for a smooth finish
For cuffs:
- Unbutton cuffs and lay them flat against your hand
- Steam from the edge inward
- Rotate slowly so you reach all sides
For hems:
- Support the hem with one hand
- Steam from the inside where possible
- Keep gentle tension so the edge stays straight
If you want a crisper look for collars or cuffs, you can press them lightly with a regular iron after steaming. Use a low heat and a pressing cloth for protection.
11. Let Clothes Cool and Dry Before Wearing or Storing
Steamed garments need a short rest after you finish. This step is easy to skip, but very important.
Right after steaming, fabrics are warm and slightly damp. If you wear or pack them immediately, you may:
- Create new wrinkles
- Trap moisture in folds
- Reduce that freshly pressed look
Instead, follow this simple routine:
- Leave the garment hanging for 5–10 minutes
- Allow excess moisture to evaporate
- Gently smooth any remaining minor creases by hand
This cooling period helps fibers “set” in their new, smooth position. Your results last longer through the day.
12. Clean and Descale Your Steamer Regularly
A well‑cared‑for steamer works better and lasts longer. Your clothes benefit directly. 🧼
Over time, mineral deposits, lint, and residue can collect inside and around the steam head. This can cause:
- Reduced steam flow
- Spitting or dripping
- Unpleasant odors
Basic maintenance steps:
- Empty the tank after each use
- Leave the water tank open to dry
- Wipe the exterior with a soft cloth
Monthly, or as your manual suggests:
- Fill the tank with a mix of water and white vinegar
- Run the steamer in a safe area until half the mixture is gone
- Empty, rinse thoroughly, and refill with clean water
- Run again briefly to flush remaining vinegar
Always check your user manual for specific instructions and safety notes. Some models have special descaling programs or warnings.
IMAGE PROMPT: A person cleaning a garment steamer at a kitchen counter, emptying the water tank and wiping it, clear labeled bottle of distilled water nearby.
Caption: Simple regular cleaning keeps your steamer effective and reliable.
Quick Reference: When to Steam vs. When to Iron
Sometimes steaming is perfect. Other times, an iron works better.
Use a fabric steamer when you:
- Want soft, natural drape
- Need to refresh suits, coats, or delicate dresses
- Want to reduce odors and light wrinkles
Use an iron when you:
- Want sharp creases in trousers
- Need crisp shirt collars for formal events
- Work with heavy cotton that needs direct pressure
You can also combine both. Steam first to relax wrinkles, then iron only key areas. This keeps fabrics smoother with less effort.
FAQs About Using a Garment Steamer
1. Is a steamer better than an iron for everyday clothes?
It depends on your style and fabrics.
A steamer is faster for light to medium wrinkles and delicate items. An iron works better for very crisp, structured looks. Many people keep both and use each for different needs.
2. Can I use my Garment Steamer on all fabrics?
No, not all fabrics are safe to steam.
Always check the care label first. Avoid steaming:
- Waxed fabrics
- Suede and some leathers
- Items labeled “do not steam”
Test delicate fabrics in a hidden spot before steaming the full garment.
3. Why does my steamer leave water spots?
Common reasons include:
- Using hard tap water
- Not letting the device heat fully
- Holding the steamer too close on delicate fabrics
Try distilled water, wait until steam is strong, and increase distance on sensitive items.
4. How do I prevent new wrinkles after steaming?
Let garments hang until they are fully cool and dry.
Avoid packing them tightly in a bag right away. If you must travel soon, use garment bags and avoid overstuffed suitcases.
5. Can a clothes steamer remove odors as well as wrinkles?
Yes, steam helps refresh fabrics and reduce light odors.
For strong smells, you may still need washing or professional cleaning. But regular steaming between wears can keep items fresher longer.
Conclusion: Make Your Garment Steamer Your Everyday Style Ally
With a few thoughtful habits, your Garment Steamer becomes more than a gadget. It becomes a calm, reliable part of your routine.
You now know how to:
- Choose the right type of steamer
- Adjust your method for each fabric
- Use attachments wisely
- Protect delicate pieces
- Maintain the device for long‑term performance
You do not need to rush or feel unsure every morning. Instead, you can take a few focused minutes, then step out in smooth, confident outfits. 💼
Start with one or two tips from this guide today. Hang your next garment properly, wait for full heat, and move in slow, vertical strokes. You will see the difference immediately.
Over time, these small habits turn steaming into a simple, satisfying ritual. Your clothes look better, feel better, and serve you longer. And that quiet confidence is always worth it.

1 Comment
Pingback: Shark hair dryer: 10 Incredible Benefits That Beat Your Old Hair Dryer